First off below is an assortment of the things you need, the needle, the wool and the tubular former to decide on the size of ball you will end up with.

With the white medicine bottle top on the left, the neck hole is approx. 1cm in dia. so using that as a guide, you can make an estimate of the amount of wool used for each ball.


Once in , you can tamp it down a bit with your chosen prodder before going on to start felting.


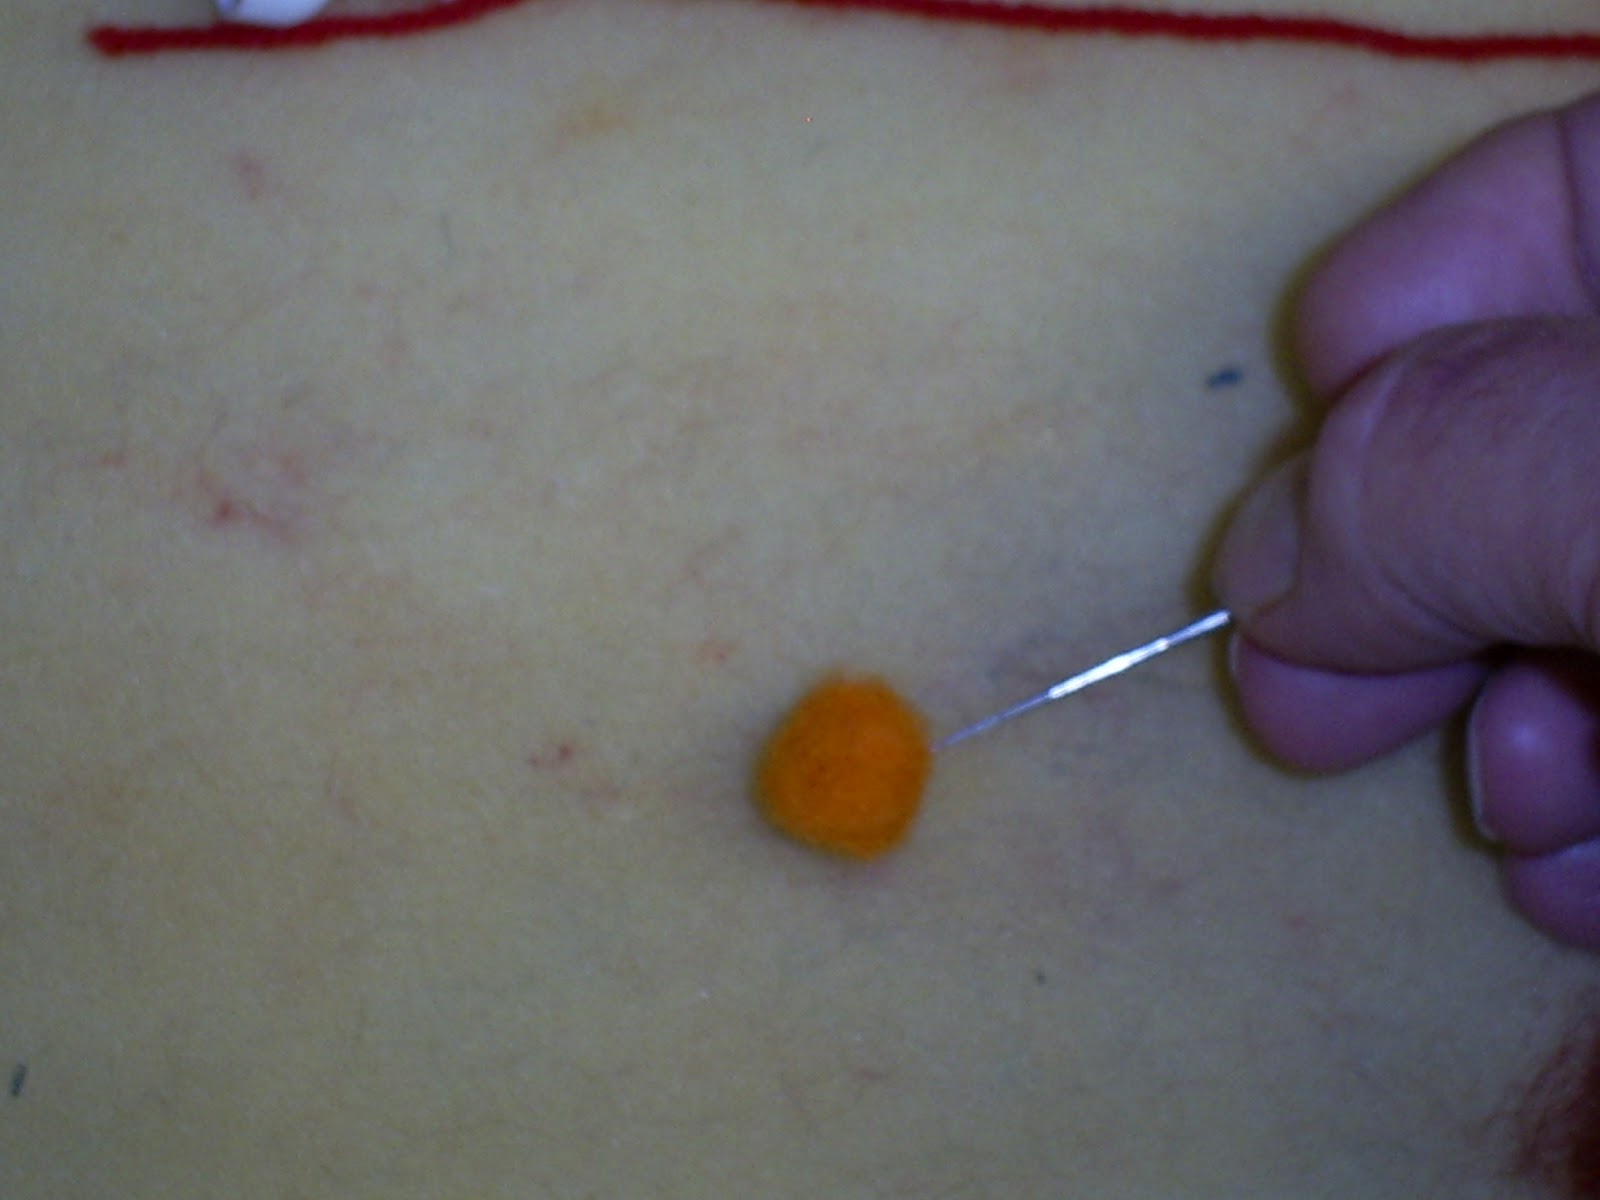
OK this is where you take out your adolescent ball from the neck end and turn it over and sideways.

This is how it should look when you take it out

Now repeat the needling and turning, until you are happy'ish with the shape.

The ball will probably still look a little untidy but you are now going to damp your palm and roll it between both hands until you are reasonably happy with the tightness and roundness.
I suggest just licking your palm!!!


The picture below shows a few examples

The possible uses for these little beauties is limited only by your imagination.
They can be used as is or as the foundations for much more complex pieces including animals, people and sculptures. You can make necklaces, ear-rings, brooches, use them as accent pieces on garments to name but a few.
Please comment on this tut for me and also let me know what you have or intend to use them for.
All the best and look out for my next installment.
No comments:
Post a Comment